
Epoxy flooring does not seem challenging on paper. You've seen the YouTube clips — a guy applies it over a weekend, the floor looks brand new by morning. What those videos fail to show is that within a few weeks, the floor starts forming bubbles, or the epoxy falls off in chunks when the first car drips oil on it. Professional installers command high prices for good reason. Here's what the process genuinely requires https://edmondepoxy.com/
The majority of DIYers rush past surface prep.
That concrete cannot just have epoxy rolled onto it until you are certain it is clean. Not "just broom-clean. Chemically and mechanically clean. Grease, aged paint, curing agents, or mineral deposits — and your epoxy will peel off in summer like a bumper sticker on a cheap car.
Diamond grinding is the preferred method. Grinding the surface with the right equipment gives epoxy something to grip. Acid etching is an alternative, though messier and harder to control. Ignore prep and the floor will fail within the year.
The silent killer here is moisture. Concrete is porous and allows moisture to move through it. With any liquid vapor rising through the slab — which is common in garages and basements — your epoxy will eventually delaminate. Test for it. Leave a plastic sheet taped to the floor for 24 hours to check for vapor. If moisture is present, you need an epoxy system with a moisture vapor barrier, or a waterproof primer applied first.
Proper mixing is essential.
Two-part epoxy systems consist of resin and hardener. These ratios are precise and cannot be estimated. Under-catalyze it and you will have a tacky floor days later. Too much hardener shortens your working time severely. The whole batch can start setting before you finish the first coat.
Mix with a proper paddle mixer. Mix thoroughly for at least two to three minutes. Make sure to scrape the bucket sides and base. Allow the mixed epoxy to rest for the manufacturer-specified induction time before applying. The induction time is a chemical requirement, not a suggestion.
Weather conditions matter more than most people realize.
Epoxy is sensitive to temperature and humidity. Standard epoxy products need moderate temperatures to cure correctly. Too cold and the epoxy simply will not set up. Humidity can cause a cloudy residue that ruins subsequent coats.
Interior conditions vary throughout the day. Conditions that are fine at noon might be problematic by morning when temperatures drop. Check the dew point. If the surface is within 5°F of the dew point, moisture will interfere with bonding.
Applying the epoxy correctly.
Use a brush to coat along the walls and edges first. Then roll the field with a 3/8" nap roller. Work in sections of about 10x10 feet, keeping a wet edge to avoid lap marks. Move with purpose, not panic. Once the material begins to cure, it will not smooth out on its own.
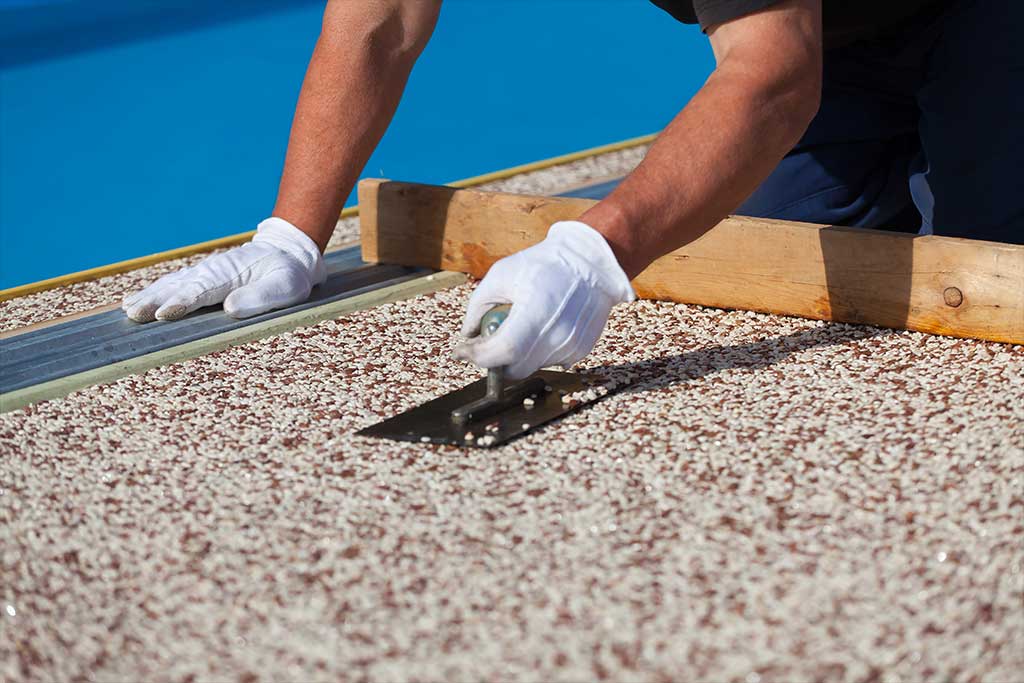
Good results require at least two applications. The first coat soaks into the slab and anchors the system. The second coat builds film thickness and creates a finished surface. Flake finishes require a saturated base, a scraping step, and one or more topcoats. Many systems use a polyaspartic or urethane topcoat for the final layer to handle UV exposure.
Polyaspartic vs. standard epoxy: a quick comparison.
Polyaspartic coatings cure faster, resist UV yellowing, and can be applied in cooler temperatures. The tradeoff is a tight working window, especially on warm days. They are a favorite among pros. DIYers can find them difficult to manage. For most home DIYers working a garage floor, conventional solid epoxy is more forgiving.
Professional habits that separate great floors from failed ones.
Professionals use mil gauges to check coating thickness. They apply product with squeegees for consistent coverage. The distinction between solid epoxy and water-based products is well understood by pros. Water-based systems marketed as epoxy floor coatings are essentially enhanced latex — with limited chemical resistance. Expect them to fail within a year under regular vehicle traffic.
Surface cracks get attention before the first coat goes down. Smaller cracks get routed and patched flush with the surface. Active or structural cracks require professional assessment.
Waiting after installation is where most people make a costly mistake.
Foot traffic within 24 hours is generally acceptable. Cars should stay off the floor for at least three days. Park a car too early and you risk permanent impressions. The coating continues curing for a month. Keep the floor free of harsh cleaners and heavy scraping for the first month.
A correctly installed epoxy floor delivers years — even decades — of performance. It is used everywhere from restaurant kitchens to aircraft hangars because it performs. The steps are not complicated — they are just precise. Rush the mix, ignore the weather, and skip the prep — and you will be starting over before the season changes.